A few days ago I had to work on a small PHP script. Several years ago I used to be a PHP developer, but these days I’m using different programming languages and I had to set up my Mac OS from scratch.
Since I wanted a simple and portable solution with a very low impact on my machine, I decided to use Caddy server and try to run PHP with Caddy instead of installing the traditional web servers such as Nginx or Apache.
Caddy is very simple to use: download the server binary, unzip the binary somewhere and run the command caddy. The web server will boot, and it will start serving the local directory. Caddy is also highly configurable and it supports FastCGI that we can use to run PHP via FastCGI.
It turned out that running a PHP project with Caddy on Mac OS X is super straightforward.
Installing PHP and php-fpm
First of all, use Homebrew to install the desired version of PHP, for example 5.6.
$ brew install php56Since 2012, PHP includes php-fpm as part of the standard PHP distribution. You can start it manually by running the php-fpm command. This is a good solution if you are not using PHP very often, and you don’t want another background process.
$ php-fpm
[20-May-2016 15:27:09] NOTICE: [pool www] 'user' directive is ignored when FPM is not running as root
[20-May-2016 15:27:09] NOTICE: [pool www] 'group' directive is ignored when FPM is not running as root
[20-May-2016 15:27:09] NOTICE: fpm is running, pid 13098
[20-May-2016 15:27:09] NOTICE: ready to handle connections
Otherwise, you can run php-fpm on startup.
$ mkdir -p ~/Library/LaunchAgents
$ cp /usr/local/opt/php56/homebrew.mxcl.php56.plist ~/Library/LaunchAgents/
$ launchctl load -w ~/Library/LaunchAgents/homebrew.mxcl.php56.plist
For more information, run $ brew info php56.
Installing Caddy
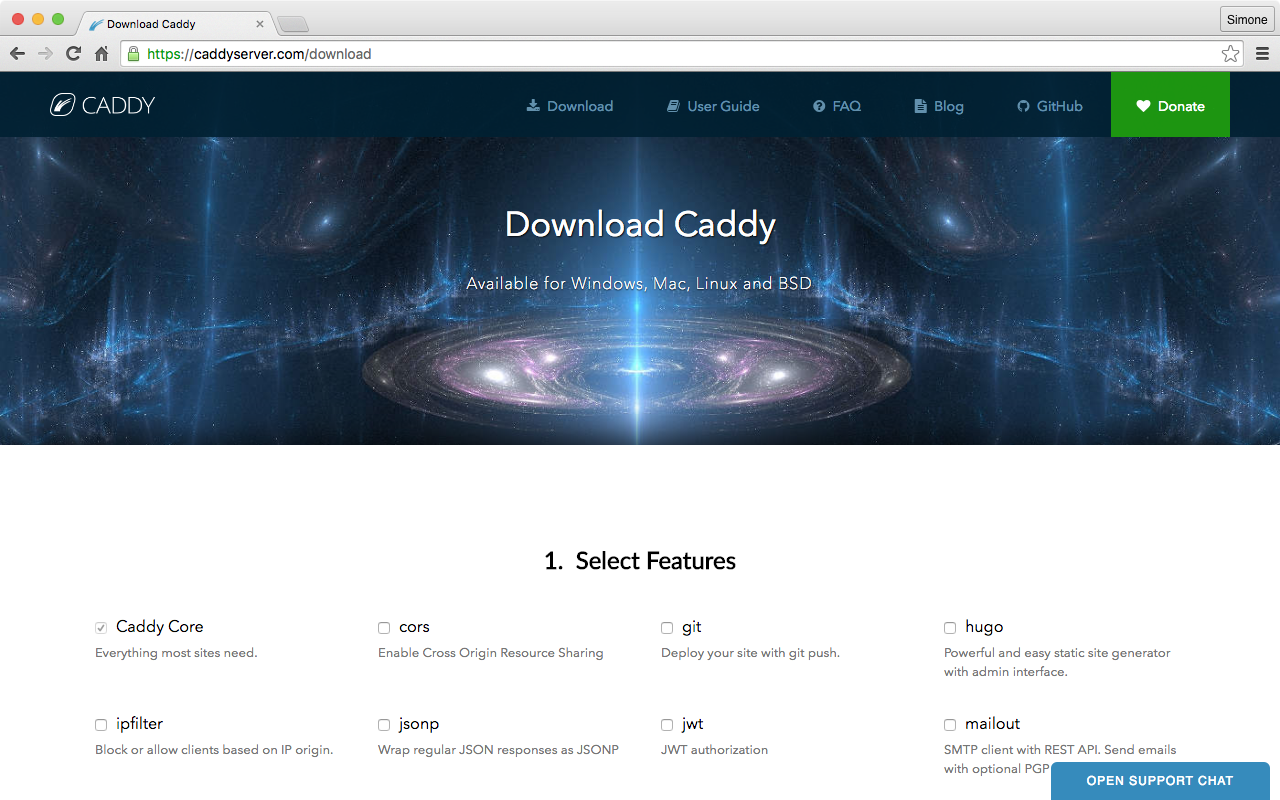
The next step is to install Caddy. Go to caddyserver.com and download the latest version. You don’t need any extra feature, as FastCGI support is built into Caddy Core.

Unzip the package, and save Caddy in a convenient location. Personally, I saved it in my local ~/bin directory (which is in my $PATH), so that I can run caddy without specifying the full path to the binary.
$ which caddy
/Users/weppos/bin/caddy
To test that Caddy works correctly, run caddy. The output should look like the following one:
$ caddy
Activating privacy features... done.
:2015
At this point, if you point your browser to http://localhost:2015/ you should see either a web page or a 404 Not Found error (depending on where you’re running Caddy from).
Configuring Caddy with PHP
The final step is to configure Caddy to run your PHP project via FastCGI using php-fpm.
Create a simple Caddy configuration file in the root of your PHP project folder. Call the file caddy-php.conf (the name is irrelevant), and enter the following configuration:
localhost:8080
fastcgi / 127.0.0.1:9000 php
The first line tells caddy on which port it should listen for incoming requests.
The second line enables fastcgi for the base path and proxies the requests to the address 127.0.0.1:9000 which is the address where the php-fpm FastCGI server is listening by default. I also specified an optional preset called PHP, that enables some simple PHP-oriented configurations (such as using index.php as index page).
$ caddy -conf path/to/caddy-php.conf
Activating privacy features... done.
localhost:8080
Open your browser at localhost:8080, and if the configuration is correct you will see your PHP site. Remember to start php-fpm before trying the URL in the browser.
Final tips
If all your sites have pretty much the same configuration, you can save the caddy configuration file in your home directory, and use it without creating a new configuration for each project.
$ cd my-php-project
$ caddy -conf ~/caddy-php.conf
If you don’t want to start php-fpm on system start, you can use the launchctl script provided by Homebrew in combination with Caddy startup and shutdown to start/stop the process.
Copy the script into your LaunchAgents folder (as instructed by brew info php56. Note that the file name depends on the exact PHP version you installed).
mkdir -p ~/Library/LaunchAgents
cp /usr/local/opt/php56/homebrew.mxcl.php56.plist ~/Library/LaunchAgents/
launchctl load -w ~/Library/LaunchAgents/homebrew.mxcl.php56.plist
And here’s the updated Caddy configuration file:
localhost:8080
fastcgi / 127.0.0.1:9000 php
startup launchctl load -w /Users/YOURUSER/Library/LaunchAgents/homebrew.mxcl.php56.plist
shutdown launchctl unload -w /Users/YOURUSER/Library/LaunchAgents/homebrew.mxcl.php56.plist
Note that you need to replace YOURUSER with your logged-in username (you can get it with whoami). The short path with ~ was not properly expanded.
Here’s a final, convenient script I created in ~/bin/caddy-php to run caddy configured for PHP with a single command:
#!/usr/bin/env bash
~/bin/caddy -conf ~/caddy-php.conf